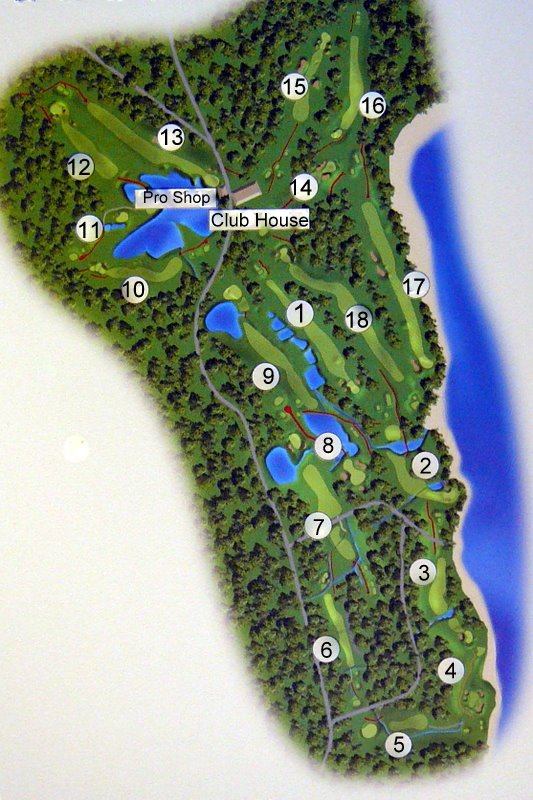
Hole 1
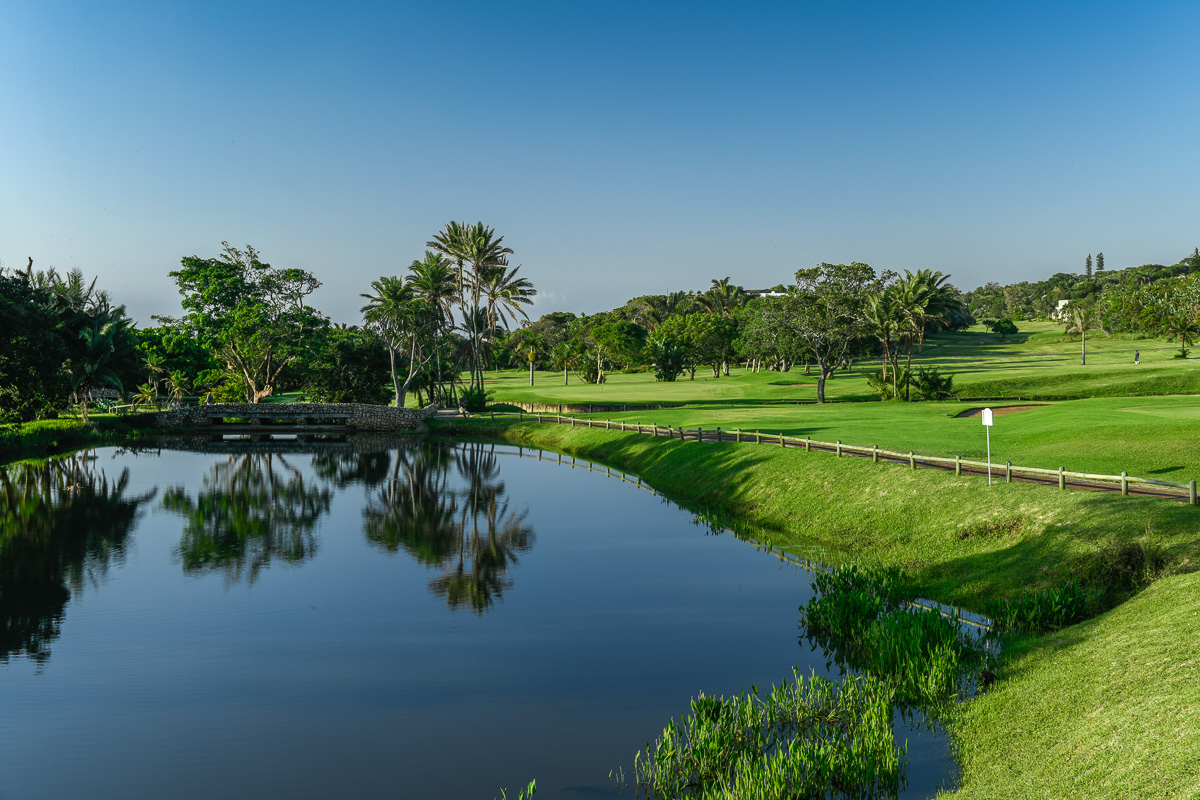
A simple opening hole but be careful of the water down the right side. Keep your tee shot left. There is a double-tiered green with bunkers on both sides. A

A simple opening hole but be careful of the water down the right side. Keep your tee shot left. There is a double-tiered green with bunkers on both sides. A
Your tee shot, sometimes even with an iron, must be kept up the right side to make the approach over the water easier. The green is bunkered on both sides.

A world class Par 4 Stroke 1. There is a lot more fairway than there appears to be from the tee but, with out of bounds on both sides, it

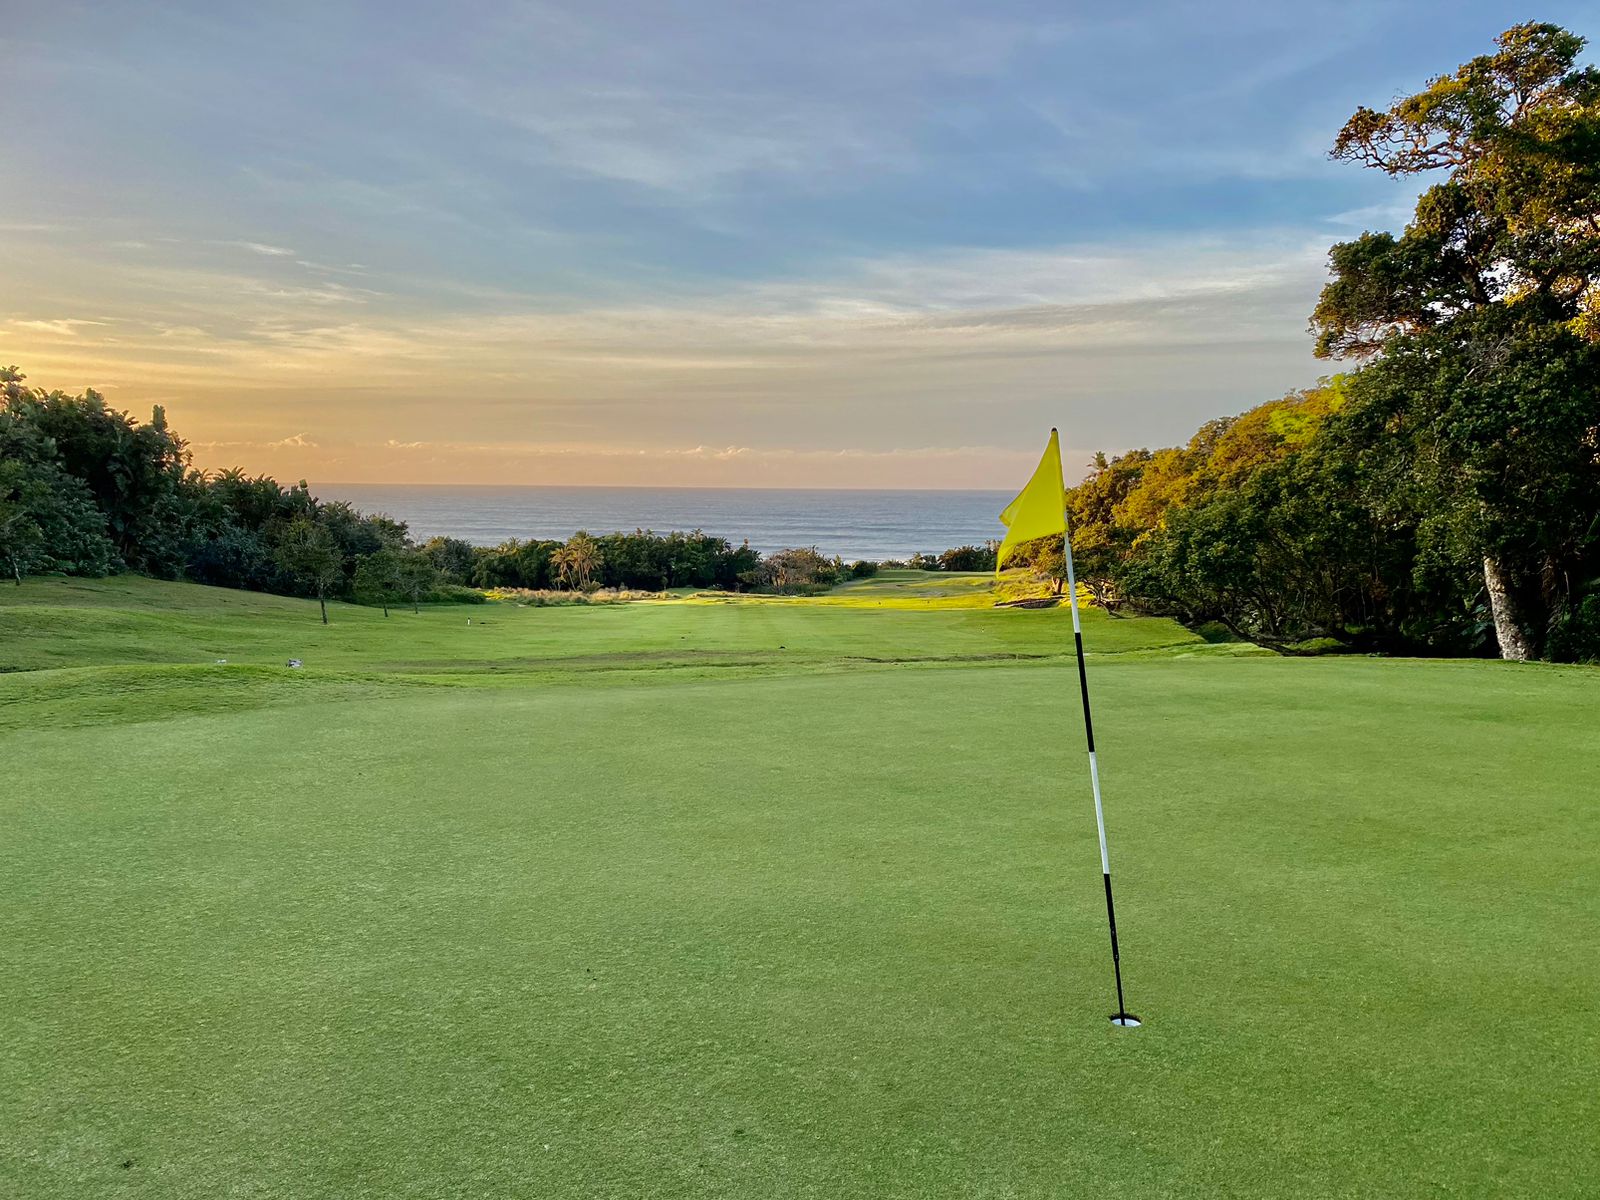
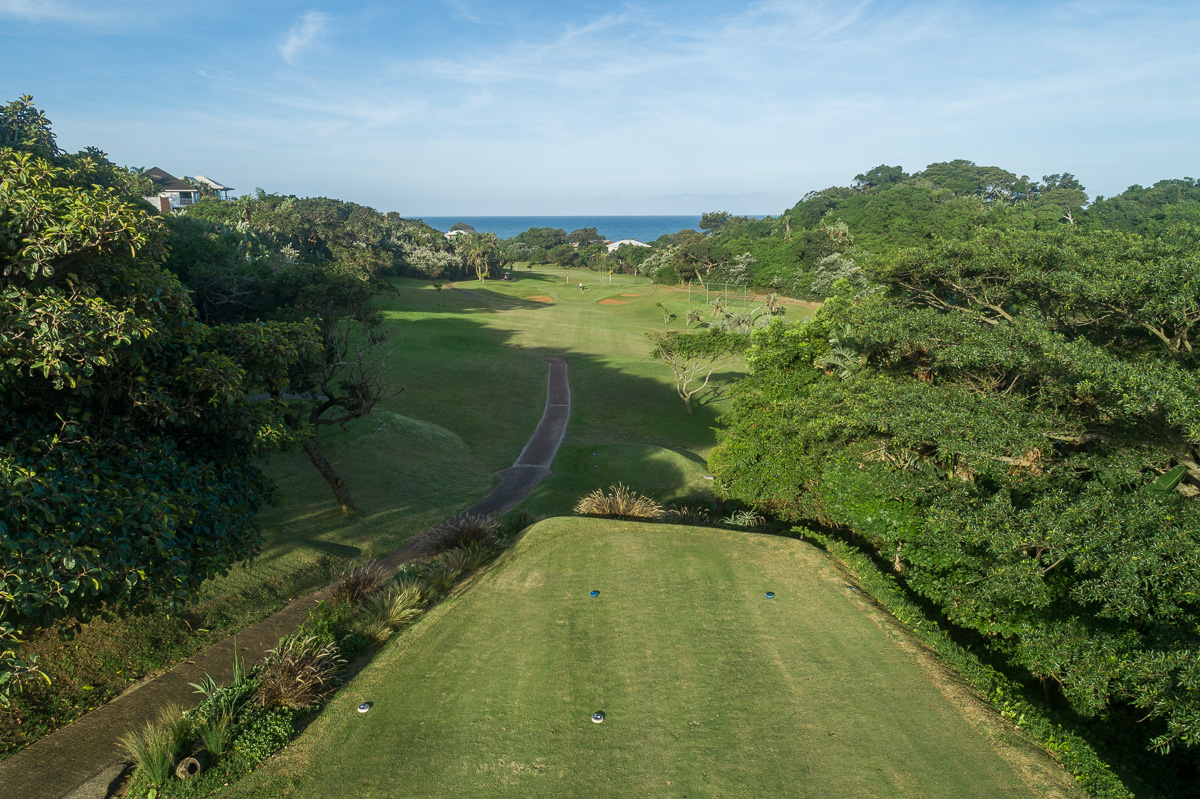
A very short but under-rated Par 3. Take extra time whilst on the tee to absorb the magnificent ocean view! Bunkers surround the green. Be careful not to be caught
A very short Par 4 that can be driven but this is not always the right decision! If the length of the hole doesn’t get you, the pin position might.

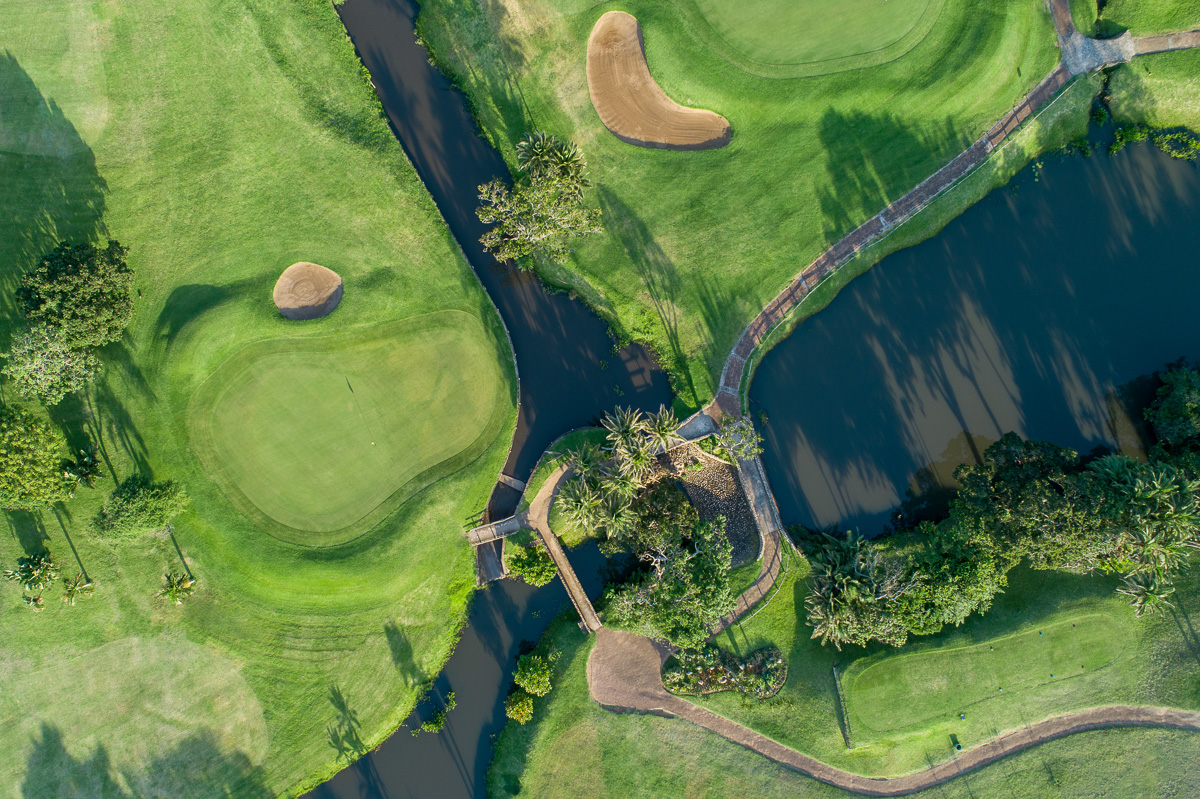
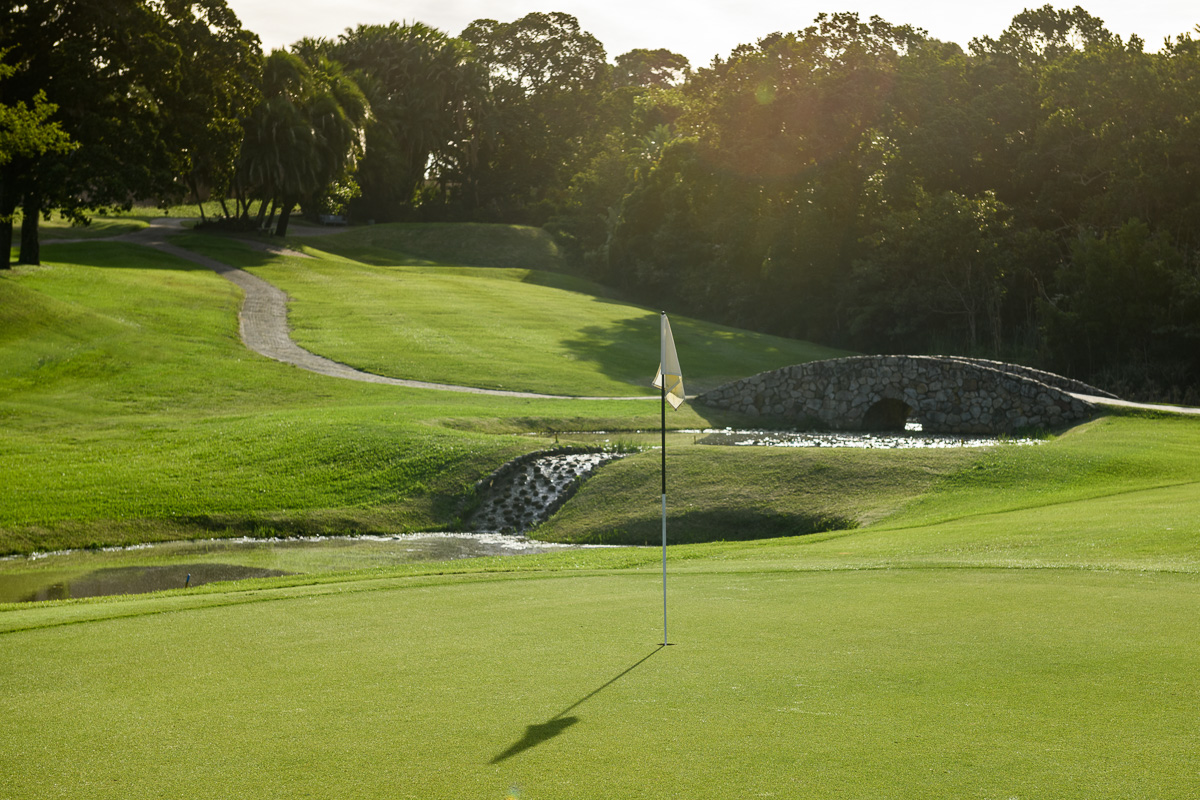
A short Par 5 with a fairway that slopes severely to the right, makes for a tough second. Either you lay up short of the stream in front of the
A great Par 4 where getting over the road can mean decision time. Lay up or go for it? A water hazard, trees and bunkers must be carried in order
A tough Par 3 where short or left is dead. Hitting from an elevated tee to a large green with bunker right and water front and left, is not easy!

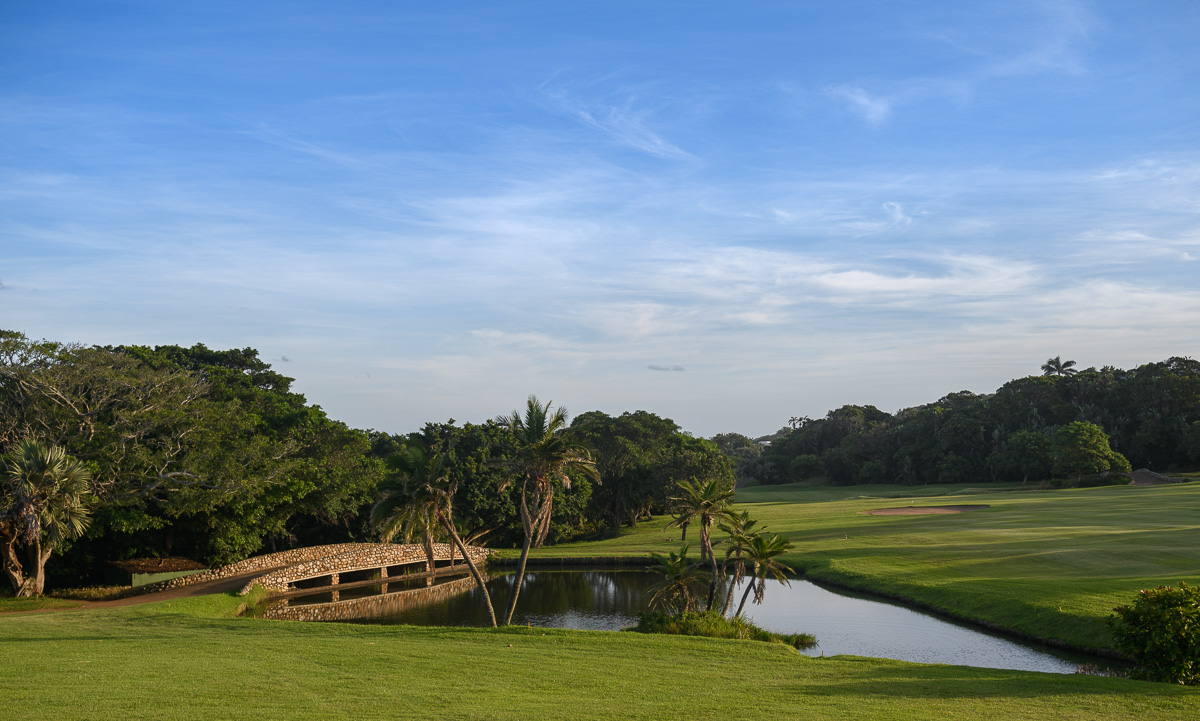
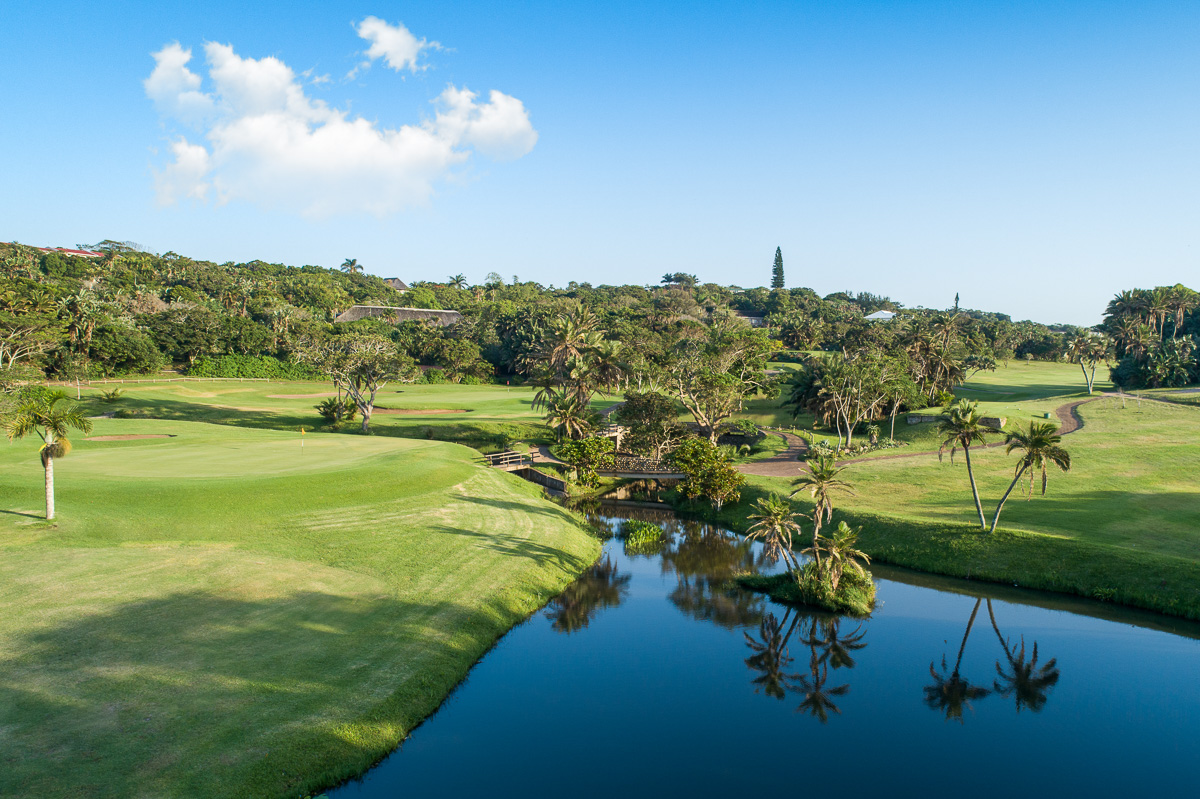
One of the best golf holes you will ever play! A short Par 5 with bush left and water right. Water runs the entire length of the hole and needs

The toughness of the hole is dependant on the pin position. The greens’ three tiers make this a tough Stroke 16. The tee shot also creates choices – either tiger
A superb Par 3 which always seems to have crosswinds. With water front and right and well-placed bunkers left, aiming back left of the green is a good choice.
A short and straightforward Par 4 until you reach the well-bunkered green. There will definitely be more “woeful putting stories” emanating from this green than any other. Club selection is

It is important to hit your tee shot into the right spot on this hole. Level with the bunker and a little right is best. The green is well defended
One of the best Par 3’s ever played. The small well-bunkered green is a really tough target under any conditions. Playing conservatively for the front edge is not a bad

One of the toughest ‘easy’ Par 4’s you will play. It is a straight hole that feels like a dog’s leg, with a well-shaped green. Hitting the fairway is key.

This is definitely a dog’s leg. A tee shot up the left is best. If you end up on the right side, my advice is play percentage golf or the

Two par 5’s to finish, how tough can that be? Well, 17 has ruined many a scorecard! The fallen tree left opposite the fairway bunkers has narrowed the hole somewhat

From this tee you can see the Bar which is both a relief and a good line! The right side is best. The second shot is toughest as you are